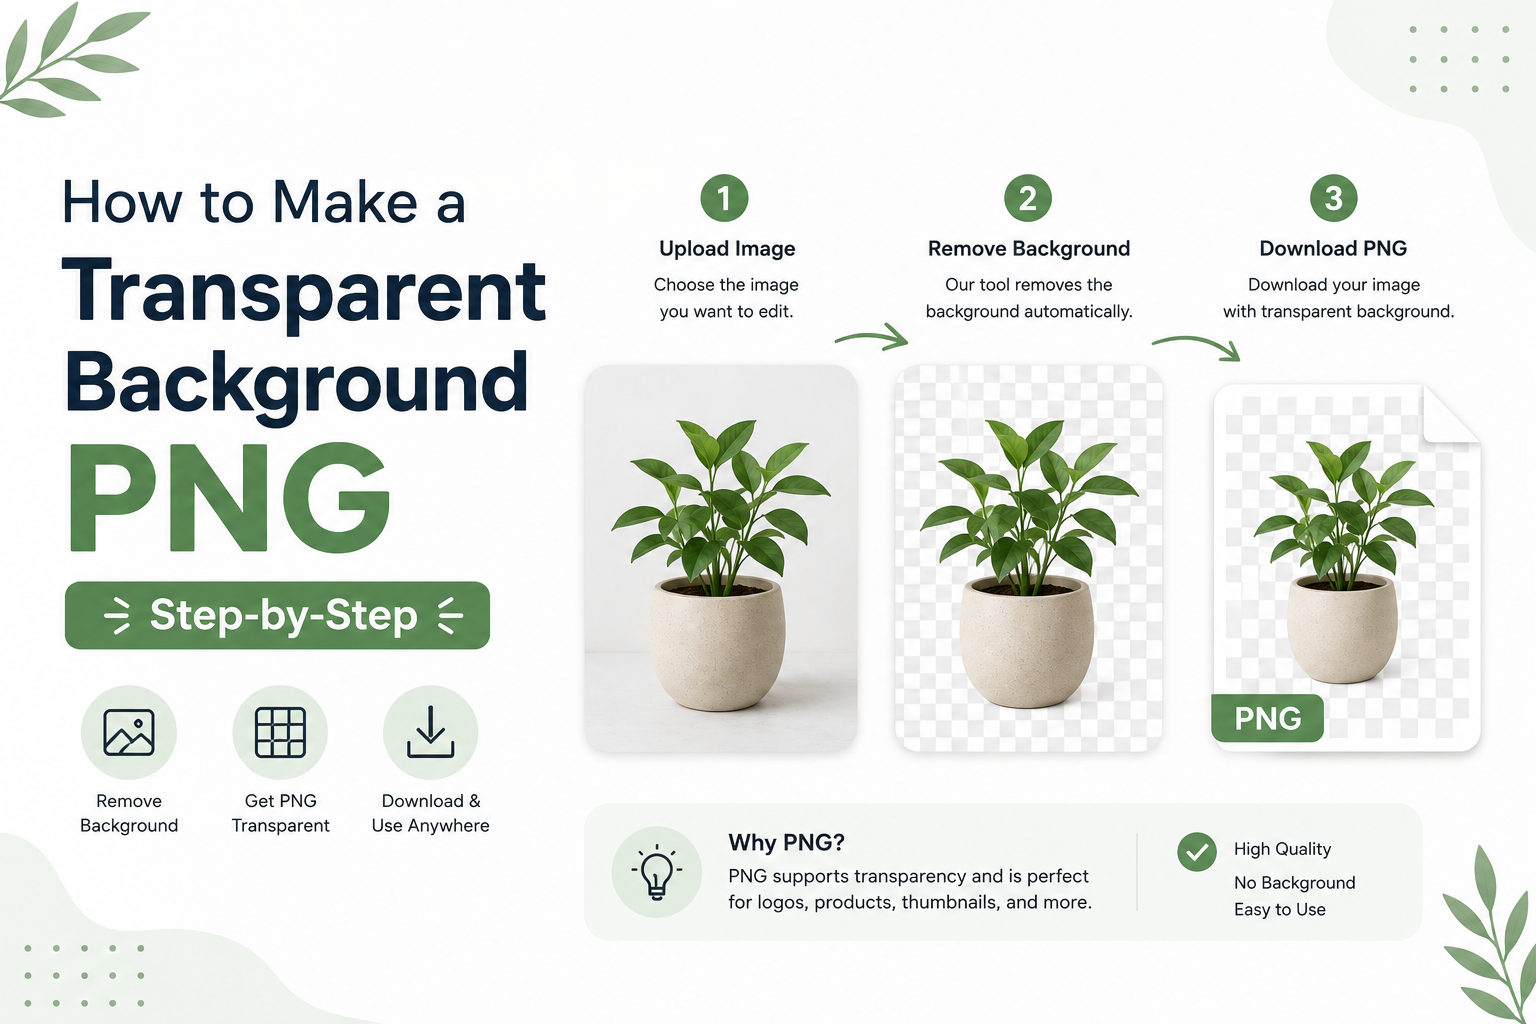
How to Make a Transparent Background PNG Step-by-Step
Creating a transparent background PNG is one of the easiest ways to make your images look clean and professional. Whether you’re designing a logo, editing product photos, creating social media graphics, or building a website, a transparent PNG gives you the flexibility to place your image on almost any background.
The good news is that you no longer need expensive software or advanced editing skills. Today, you can create a transparent background PNG in just a few clicks by using an AI-powered background remover or a simple online editor.
In this guide, you’ll learn how to make a transparent background PNG step by step. You’ll also discover why PNG files are useful, when to use them, and how to get the best results every time.
What Is a Transparent Background PNG?
A transparent background PNG is an image file that has no visible background. Instead of showing a white or colored background, the empty area becomes transparent. Most image editors display this transparency as a gray and white checkerboard pattern.
Unlike JPG images, PNG files support transparency. As a result, you can place the image on different backgrounds without seeing a white box around it.
For example, if you remove the background from a company logo and save it as a PNG, you can place that logo on websites, presentations, business cards, or marketing materials without any unwanted background.
Because of this flexibility, PNG has become one of the most popular image formats for digital content.
Why Use a Transparent PNG?
Transparent PNG images are useful for many personal and professional projects. They make your designs look cleaner while giving you more control over where and how you use your images.
Here are some common reasons to create transparent PNG files.
Professional Appearance
A transparent image blends naturally into any design. Instead of a distracting white box, only the subject remains visible.
Better Website Design
Transparent logos, icons, and graphics look much better on websites because they match every background color.
Easy Graphic Design
Designers often use transparent PNG files when creating banners, flyers, advertisements, and presentations.
Perfect for Online Stores
Online sellers use transparent product images for platforms like Shopify, Etsy, Amazon, and WooCommerce because they create a cleaner shopping experience.
Great for Social Media
Content creators regularly use transparent PNG images for YouTube thumbnails, Instagram posts, Facebook ads, and profile pictures.
Benefits of Creating Transparent Background PNG Images
Using transparent PNG files offers several important advantages.
Better Image Quality
PNG files keep excellent image quality without adding unwanted background colors.
Supports Transparency
Unlike JPG files, PNG images can display transparent areas.
Works Almost Everywhere
PNG files are supported by nearly every website, browser, and design application.
Easy to Edit Later
You can continue editing transparent PNG images without recreating the background removal process.
Ideal for Branding
Businesses often use transparent logos because they work well across websites, packaging, printed materials, and digital advertisements.
When Should You Use a Transparent PNG?
Not every image needs a transparent background. However, there are many situations where PNG is the best choice.
You should create a transparent PNG when working with:
- Company logos
- Product photos
- Profile pictures
- YouTube thumbnails
- Website graphics
- Marketing banners
- Business presentations
- Social media posts
- Stickers
- Digital artwork
- Icons
- Branding materials
If you plan to place an image on multiple backgrounds, PNG is usually the best option.
What Do You Need Before You Start?
Fortunately, you don’t need expensive editing software anymore. Before creating your transparent PNG, make sure you have the following:
- A clear image
- Good lighting
- A visible subject
- Internet access
- An AI Background Remover or image editor
The better your original image, the cleaner your final PNG will look.
Step 1: Choose a High-Quality Image
The first step is selecting the right image.
Although AI tools are very powerful, they work best with clear, high-resolution photos.
For example, choose images where:
- The subject is easy to identify.
- The photo is sharp.
- The lighting is bright.
- The background is different from the subject.
- The edges are clearly visible.
On the other hand, blurry images or dark photos can make background removal less accurate.
Therefore, starting with a quality image saves time and improves your final result.
Images That Work Best
Good examples include:
- Product photos
- Portraits
- Pet photos
- Cars
- Food photography
- Fashion images
- Electronics
- Furniture
These images usually have clear subjects that AI can detect easily.
Step 2: Upload Your Image
Next, upload your image into an AI Background Remover.
Many online tools allow you to drag and drop your image directly into the upload area. Alternatively, you can click the Upload Image button and choose a file from your computer or mobile device.
Most AI background removers support common formats such as:
- JPG
- JPEG
- PNG
- WebP
After uploading, the tool will display a preview of your original image.
Before moving forward, take a moment to check that the image is correctly uploaded and clearly visible.
Step 3: Remove the Background Automatically
Now comes the easiest part.
Click the Remove Background button to start the AI process.
Within a few seconds, the AI analyzes your image and separates the main subject from the background.
Unlike manual editing, you don’t need to draw outlines or erase unwanted areas yourself.
Instead, the AI automatically detects:
- People
- Products
- Animals
- Vehicles
- Logos
- Everyday objects
As a result, the process is much faster than using traditional photo editing software.
Once the background has been removed, you’ll see a preview of your new transparent PNG.
Carefully inspect the edges around the subject. In most cases, the AI creates clean and natural cutouts. However, if the original image has poor lighting or a busy background, you may notice small imperfections.
Fortunately, many AI tools allow you to make small adjustments before downloading the final image.
Tips for Better Background Removal
Although AI does most of the work, a few simple tips can improve your results even more.
Use Bright Lighting
Good lighting makes it easier for AI to separate the subject from the background.
Avoid Busy Backgrounds
Simple backgrounds help the AI find clean edges more quickly.
Keep the Subject in Focus
Sharp images almost always produce better transparent PNG files.
Use High Resolution
Higher-resolution photos preserve more detail, especially around hair, clothing, and fine edges.
Leave Some Space Around the Subject
Avoid cropping too closely. Extra space helps the AI identify the complete subject more accurately.
Common Mistakes to Avoid
Many beginners make small mistakes that reduce image quality.
Try to avoid these common problems:
- Uploading blurry images
- Using very dark photos
- Choosing low-resolution pictures
- Cropping the subject too tightly
- Saving the image in JPG instead of PNG
- Ignoring the preview before downloading
By avoiding these mistakes, you’ll create cleaner and more professional transparent PNG images.
Remove Image Backgrounds Instantly in Seconds
Upload your photo and let AI automatically remove the background with clean, high-quality results. Create transparent PNG images for product photos, social media graphics, presentations, online stores, profile pictures, marketing materials, and creative projects—no design experience required.
Step 4: Check the Transparent PNG Carefully
Once the AI finishes removing the background, take a few moments to inspect the result before downloading it.
Although AI is very accurate, checking the image helps you catch small issues that may affect the final quality.
Look closely at:
- Hair edges
- Clothing
- Glasses
- Jewelry
- Product corners
- Small objects
- Shadows
If something doesn’t look right, use the editing options if your background remover provides them.
A quick review helps you create a cleaner and more professional image.
Look for Rough Edges
Zoom in and check the edges around the subject.
Smooth edges usually look more natural on websites, advertisements, and product pages.
If you notice rough edges, try uploading a higher-quality image or use a photo with better lighting.
Step 5: Download the Transparent PNG
After reviewing your image, click the Download PNG button.
Always save the image in PNG format because it keeps the transparent background.
If you save it as JPG, the transparent background will disappear and usually become white.
Your downloaded PNG is now ready for:
- Websites
- Blogs
- Online stores
- Presentations
- Marketing materials
- Social media graphics
- Graphic design projects
Because PNG preserves image quality, it is one of the best formats for transparent images.
Step 6: Add Your PNG to Any Background
Now that you have a transparent PNG, you can place it almost anywhere.
For example, you can use it on:
Websites
Transparent logos look clean on both light and dark website backgrounds.
Product Pages
Online stores often use transparent product images to create a consistent and professional appearance.
Social Media
Content creators use transparent PNG files to design:
- YouTube thumbnails
- Instagram posts
- Facebook ads
- Pinterest Pins
- LinkedIn banners
Marketing Materials
Transparent images also work well in:
- Flyers
- Posters
- Brochures
- Presentations
- Email newsletters
Because there is no visible background, your image blends naturally into every design.
Step 7: Save the Original Image
Although your transparent PNG is ready, keep the original photo as well.
The original image may be useful if you want to:
- Edit it later
- Create another design
- Change the background
- Improve image quality
- Resize the picture
Keeping both versions gives you more flexibility for future projects.
Step 8: Organize Your PNG Files
If you create many transparent images, organizing them saves time.
A simple folder structure works well.
For example:
- Logos
- Products
- Social Media
- Website Graphics
- Marketing
- Profile Pictures
Clear file names also make images easier to find later.
Instead of naming a file:
Image001.png
Use:
white-running-shoes-transparent.png
Search engines and team members both benefit from descriptive file names.
Best Tips for Creating Better Transparent PNG Images
Following a few simple practices can improve your results.
Use Bright Lighting
Natural lighting makes the subject easier to separate from the background.
Choose High-Resolution Photos
Large images contain more detail, which helps AI create cleaner edges.
Avoid Busy Backgrounds
Simple backgrounds usually produce the best cutouts.
Keep the Subject Sharp
Blurry images reduce accuracy.
Leave Space Around the Subject
Extra space helps AI detect the complete object more accurately.
Download the Highest Quality
Whenever possible, choose the highest-quality PNG available.
Common Mistakes to Avoid
Many people lose image quality because of simple mistakes.
Avoid these problems:
Saving as JPG
JPG does not support transparency.
Always download transparent images as PNG.
Using Low-Quality Photos
Small or blurry images produce rough edges.
Cropping Too Early
Wait until the background is removed before making major crops.
Ignoring the Preview
Always review the image before downloading.
Compressing Too Much
Heavy compression reduces image quality.
PNG vs JPG vs WebP
Choosing the right format is just as important as removing the background.
| Feature | PNG | JPG | WebP |
|---|---|---|---|
| Supports Transparency | ✅ Yes | ❌ No | ✅ Yes |
| Best Image Quality | ✅ Excellent | Good | Excellent |
| Small File Size | Medium | Small | Very Small |
| Best for Logos | ✅ Yes | ❌ No | Yes |
| Best for Photos | Good | ✅ Yes | ✅ Yes |
| Website Graphics | ✅ Excellent | Fair | Excellent |
For transparent backgrounds, PNG remains the best choice in most situations.
Who Should Use Transparent PNG Images?
Transparent PNG files are useful for almost everyone.
They are especially helpful for:
- Bloggers
- Graphic designers
- Photographers
- Small businesses
- Online sellers
- Marketing teams
- Social media managers
- Students
- Teachers
- Freelancers
- Website owners
- Content creators
Whether you need one image or hundreds, transparent PNG files make your work look cleaner and more professional.
Frequently Asked Questions
Learn more about transparent PNG images, background removal, image quality, and the benefits of using PNG files for websites, online stores, graphic design, branding, and digital marketing.
What is a transparent PNG?
A transparent PNG is an image that has no visible background. Instead of showing a solid white or colored background, only the main subject remains. This allows you to place the image on different backgrounds while blending naturally into your website, presentation, design, or marketing material.
Why should I use PNG instead of JPG?
PNG supports transparent backgrounds, while JPG does not. PNG also preserves image quality better for graphics, logos, icons, illustrations, and images that require sharp edges. JPG is generally better suited for standard photographs where transparency is not needed.
Can I make a transparent PNG for free?
Yes. Many AI-powered background remover tools allow you to upload an image, automatically remove its background, and download the result as a transparent PNG without installing any software. Free plans may include certain limits depending on the service you choose.
Does removing the background reduce image quality?
In most cases, no. Starting with a high-resolution image usually produces the best results. Saving the processed image as PNG helps preserve sharp edges and transparency, although the final quality can vary depending on the AI model and the original image.
Can I use transparent PNG images for my business?
Yes. Transparent PNG files are commonly used for company logos, product photos, online stores, website graphics, digital advertisements, presentations, social media posts, marketing materials, and branding projects because they can be placed on almost any background without additional editing.
Final Thoughts
Learning how to make a transparent background PNG is an important skill for anyone who works with digital images. Fortunately, modern AI tools make the process quick, simple, and accurate.
Instead of spending hours editing photos by hand, you can upload an image, remove the background in seconds, and download a high-quality transparent PNG ready for your next project.
Whether you’re creating product photos, website graphics, company logos, or social media posts, transparent PNG images help your designs look clean and professional.
The best results come from using high-resolution images, good lighting, and a reliable AI Background Remover. By following the steps and tips in this guide, you’ll be able to create transparent PNG images with confidence.
If you regularly edit photos, save product images, or build marketing content, mastering transparent PNG creation will save you time while improving the quality of your work.
Key Takeaways
- Transparent PNG images have no visible background.
- PNG is the best format for logos, graphics, and transparent images.
- AI Background Removers create transparent PNG files in seconds.
- High-quality images produce better background removal.
- Good lighting improves AI accuracy.
- Always download transparent images in PNG format.
- Review the image before downloading.
- Use descriptive file names for better organization and SEO.
- Transparent PNG images work well for websites, eCommerce, branding, and social media.